In this module you will learn about the Pylons framework and the SQLAlchemy database toolkit. More specifically you will learn how to create a Pylons application (or project), and how to use SQLAlchemy in this application.
Note
The virtual environment must be activated prior to executing the commands provided in this module.
You are going to start by installing Pylons 1.0, and SQLAlchemy 0.6.1.
To install Pylons use:
(vp) $ easy_install "Pylons==1.0"
The easy_install command downloads the packages from the official Python package repository (http://pypi.python.org) and installs them in the Python environment (the virtual environment here).
You should now have Pylons installed. You can check that using this command:
(vp) $ paster create --list-templates
This command should output this:
Available templates:
basic_package:   A basic setuptools-enabled package
paste_deploy:    A web application deployed through paste.deploy
pylons:          Pylons application template
pylons_minimal:  Pylons minimal application template
Note
The paster command comes from Paste http://pythonpaste.org/. Paste is a low-level framework for web development, Pylons heavily relies on it.
To install SQLAlchemy use:
(vp) $ easy_install "SQLAlchemy==0.6.1"
You will use PostgreSQL as the database system in this workshop, so the PostgreSQL Python driver must be installed as well:
(vp) $ easy_install "psycopg2==2.0.14"
You can now create the Pylons application with:
(vp) $ paster create -t pylons WorkshopApp
WorkshopApp is the name of the Pylons application, you can pick any name of your choice , although it’s assumed that you choose WorkshopApp in the rest of the document.
When asked what template engine to use answer mako, which is the default. When asked if SQLAlchemy 0.5 configuration is to be included, answer True, as your application will include web services relying on database tables.
Note
Although Pylons assumes SQLAlchemy 0.5 is used SQLAlchemy 0.6 and Pylons 1.0 are fully compatible.
You should now have a directory named WorkshopApp. This directory contains your application files, mainly Python files.
Now is the time to check that your Pylons application works. For this go into the WorkshopApp directory and start the application:
(vp) $ cd WorkshopApp
(vp) $ paster serve development.ini
This command starts your application in the Paste web server, which is a pure-Python web server, commonly used during development.
Note
You can use paster serve --reload development.ini so the Paste web server reloads itself when files are modified in the application.
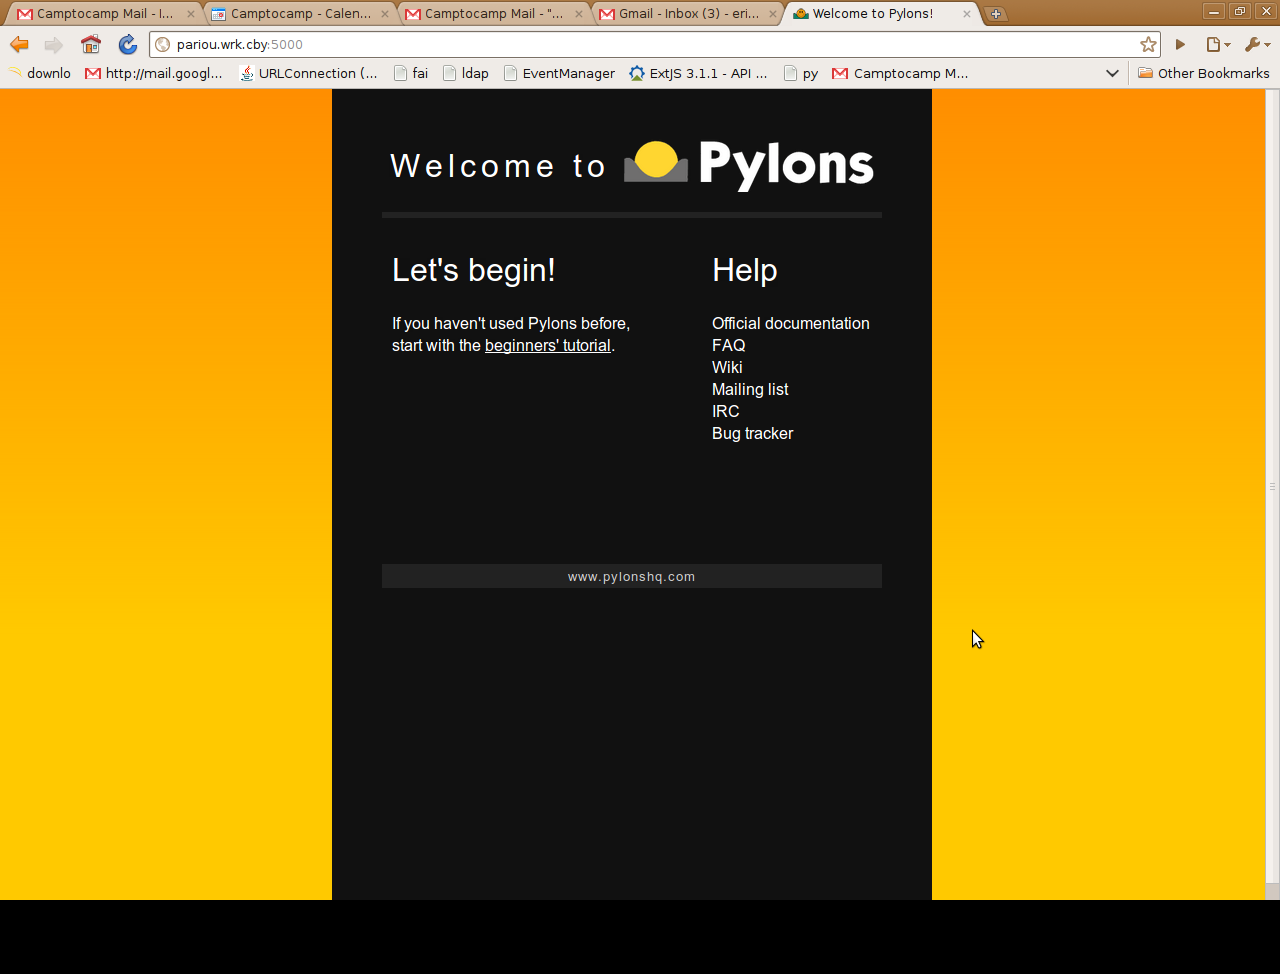
Open http://localhost:5000 in your web browser, you should get the default page:
The following sub-sections give you a quick tour through the directories and files of your Pylons application. Take some time to browse those directories and files, so you get a sense of how the application is structured.
The application’s main directory, WorkshopApp, contains:
workshopapp
This is the main application directory, its name depends on the application name given as the argument to the paster create command. The main sub-directories of this directory are: controllers, model, lib, config, tests, templates, and public.
- controllers
- The controllers directory contains the application controllers. The controllers are the components that handle HTTP requests and send HTTP responses. They often interact with the model and templates code.
- model
- The model directory is where the database model is configured. This is basically where tables and relations are defined.
- lib
- The lib directory includes Python code shared by different controllers, and third-party code.
- config
- The config directory includes Python code generated by the framework and exposed to the application for customization.
- tests
- The tests directory is where you can add Python automated tests for the application.
- templates
- The templates directory is where view templates are stored. Note that we won’t write templates as part of this workshop, as the HTML rendering will mostly be done client side.
public
The public directory includes the application’s static files, i.e. HTML, CSS, JavaScript files, etc.
You now need to specify the location of the database in the configuration of the application. For that edit the development.ini file and change the value of the sqlalchemy.url option as follows:
sqlalchemy.url = postgresql://www-data:www-data@localhost:5432/python_workshop
This setting assumes that a PostgreSQL instance executes on the local machine, listens on port 5432, and includes a database named python_workshop, which user www-data can access using www-data as the password.
Note
The VirtualBox Debian image comes with a PostgreSQL server including the python_workshop database, and the PostgreSQL server is started automatically at boot time.
The python_workshop database includes a table named summits, which includes information about summits of France. Here you’re going to define the SQLAlchemy model for that table. More specifically you’re going to define a class whose instances will represent summits.
Edit the workshopapp/model/__init__.py file and change it so it looks like this:
"""The appplication's model objects"""
from workshopapp.model.meta import Session, Base


def init_model(engine):
    """Call me before using any of the tables or classes in the model"""
    Session.configure(bind=engine)

    global Summit
    class Summit(Base):
        __tablename__ = 'summits'
        __table_args__ = {
            'autoload': True,
            'autoload_with': engine
            }
Setting autoload to True in the table arguments makes SQLAlchemy automatically discover the schema of the table (and load values for every column of the table when doing queries).
You can now restart the Paste web server (if not already started), and you should see the SQL commands SQLAlchemy sends to PostgreSQL for discovering the table columns:
(vp) $ paster serve --reload development.ini
Here you are going to create a web service so information about summits can be requested through HTTP. For that a controller relying on the summits table, the Summit class really, will be created.
Pylons provides a command for generating controllers. You can use it to generate your summits controller:
(vp) $ paster controller summits
This command creates two files: workshopapp/controllers/summits.py, which includes the controller itself, and workshopapp/tests/functional/test_summits.py, which includes functional tests for that controller. These file are really just skeletons.
To check that your controller is functional you can now open http://localhost:5000/summits/index in your browser, you should get an Hello World HTML page.
You’re now going to modify the summits controller so it returns a JSON representation of the first ten summits in the table. SQLAlchemy is used for querying the database, and a Pylons-specific decorator function (jsonify) is used to serialize the database objects into JSON.
Here the full code of the summits controller:
import logging

from pylons import request, response, session, tmpl_context as c, url
from pylons.controllers.util import abort, redirect
from pylons.decorators import jsonify
from workshopapp.model.meta import Session
from workshopapp.model import Summit

from workshopapp.lib.base import BaseController, render

log = logging.getLogger(__name__)

class SummitsController(BaseController):

    @jsonify
    def index(self):
        summits = []
        for summit in Session.query(Summit).limit(10):
            summits.append({
                "name": summit.name,
                "elevation": summit.elevation
                })


        return summits
This section shows how to create database tables when the Pylons application is set up.
To set up the project the paster setup-app command is used:
(vp) $ paster setup-app development.ini
This command executes the setup_app function defined in the workshopapp/websetup.py file.
By default the setup_app function calls the Base.metadata.create_all function. This function creates the tables defined in the model if they don’t already exist in the database.
So to create tables at setup time you just need to declare new tables in the model.
Let’s declare an areas table in the model. For that edit the workshopapp/model/__init__.py and change its content to:
"""The appplication's model objects"""
from sqlalchemy.schema import Column
from sqlalchemy.types import Integer, String
from workshopapp.model.meta import Session, Base

def init_model(engine):
    """Call me before using any of the tables or classes in the model"""
    Session.configure(bind=engine)

    global Summit
    class Summit(Base):
        __tablename__ = 'summits'
        __table_args__ = {
            'autoload': True,
            'autoload_with': engine
            }

class Area(Base):
    __tablename__ = 'areas'
    id = Column(Integer, primary_key=True)
    name = Column(String(50))
The above code declares a table named areas. This table has two columns, one integer column named id, which is the primary key, and one string column named name.
You can now execute the paster setup-app command again. Once executed you should have the areas table in the PostgreSQL database. You can use pgAdmin or any other PostgreSQL client to verify the existence of that table.
Now you’re going to modify the setup_app function to insert data into the areas table at setup time (recall that the setup_app function is defined in the workshopapp/websetup.py file):
"""Setup the WorkshopApp application"""
import logging

import pylons.test

from workshopapp.config.environment import load_environment
from workshopapp.model.meta import Session, Base
from workshopapp.model import Area

log = logging.getLogger(__name__)

def setup_app(command, conf, vars):
    """Place any commands to setup workshopapp here"""
    # Don't reload the app if it was loaded under the testing environment
    if not pylons.test.pylonsapp:
        load_environment(conf.global_conf, conf.local_conf)

    # Create the tables if they don't already exist
    Base.metadata.create_all(bind=Session.bind)

    log.info("Adding default area...")
    default_area = Area()
    default_area.name = u"Default area"
    Session.add(default_area)
    Session.commit()
    log.info("Successfully set up.")
With the above code an area is added to the areas table. Execute the paster setup-app command again and verify that area was effectively inserted (for example using pgAdmin again).
Note
Here each time paster setup-app is executed a new area with the same name is inserted. Each inserted area has a different id though, the id is autoincremented, thanks to the sequence SQLAlchemy created in the database.
Bonus task 1
Create an areas controller, similar to the summits controller, but based on the areas table.
Bonus task 2
Add a new action to the areas controller (for example named create) for inserting new areas. You will use Session.add and Session.commit as in websetup.py for that.