In this module you will learn how to create a MapFish application. You will study the structure of a MapFish application, and the code the MapFish framework generates for you when creating a MapFish application.
To create a MapFish application use:
$ paster create -t mapfish MapFishApp
MapFishApp is the name of the MapFish application you’re creating, you can pick any name of your choice. We’ll assume that you choose MapFishApp in the rest of the document.
When asked what template engine to use answer mako, which is the default. When asked if SQLAlchemy 0.6 configuration is to be included, answer True, as your MapFish application will include web services relying on database tables.
You should now have a folder named MapFishApp. This folder contains your application files, at this point mainly Python files.
Now is the time to check that your MapFish application works. For this go into the MapFishApp folder and start the application:
$ cd MapFishApp
$ paster serve development.ini
This command starts your application in the Paster web server, which is a pure-Python web server, commonly used during development.
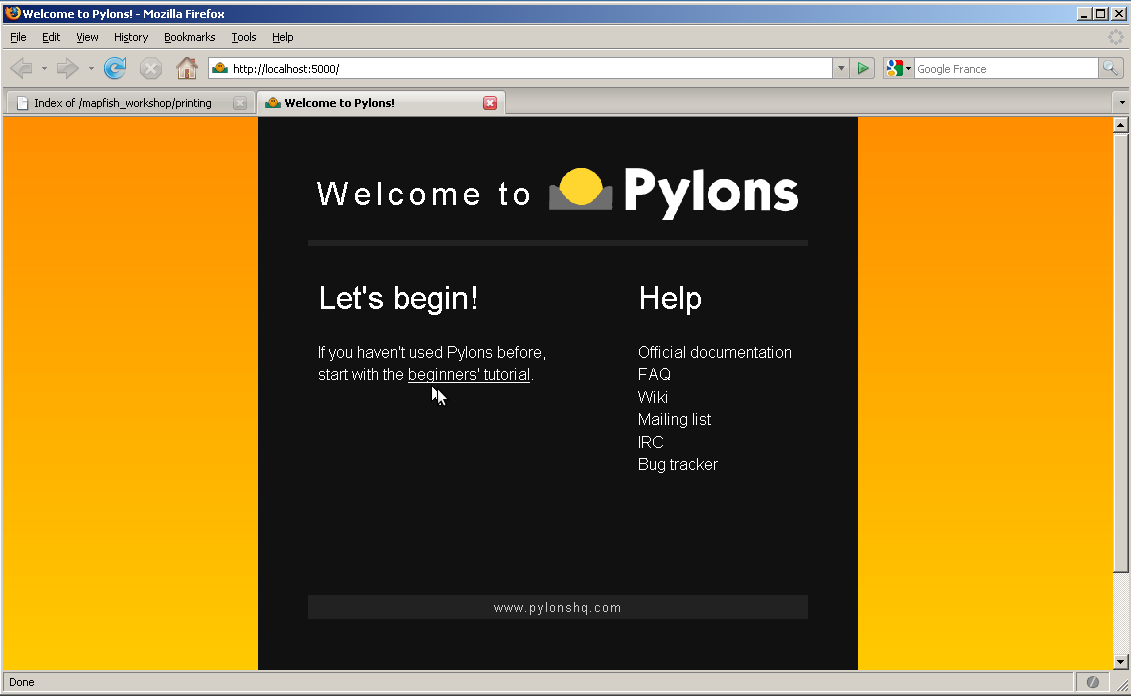
Open http://localhost:5000 in your web browser, you should get the default page:
You are now going to install the MapFish JavaScript toolbox in your application. This toolbox includes:
Enter Ctrl+C to stop the Paster server and proceed with these commands:
$ cd ..
$ paster create -t mapfish_client MapFishApp
When asked whether to overwrite index.html answer y. This will overwrite the index.html page you saw in the last section by the one provided by the mapfish_client template.
Start the application again:
$ cd MapFishApp
$ paster serve --reload development.ini
Note
Note the use of the --reload switch. This switch makes the Paste server monitor all Python modules used by the MapFishApp application and reload itself automatically if any of them is modified or if new modules are created. This is especially useful during development.
Open or reload http://localhost:5000 in your web browser, you should now get the default user interface:
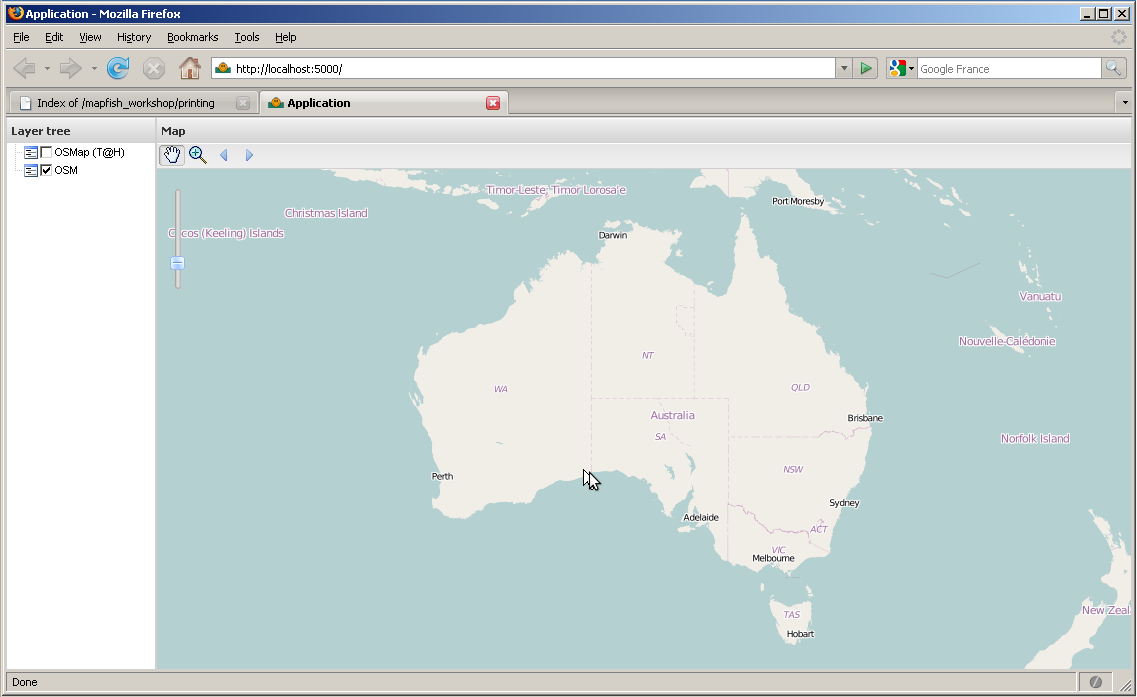
This default user interface is composed of: a map, a toolbar above the map with tools acting on the map, and a layer tree for controlling the visibility of layers. The map itself is composed of two OpenStreetMap base layers (Mapnik and Tiles@Home).
The default user interface is provided to the application developer as an example. The application developer is free to build on it, or delete it to write his own if he wants.
As mentioned at the begining of this section, the JavaScript toolbox installed in the MapFish application comes with a JavaScript testing framework. We clearly see one of the goals of MapFish here: freeing the Application developer from tedious tasks and making him more productive in the development of high-quality, tested code. A test example is provided, to execute it load http://localhost:5000/tests in your browser.
The following sub-sections give you a quick tour through the folders and files of your MapFish application. Take some time to browse those folders and files, so you get a sense of how the application is structured.
The application’s main folder, MapFishApp, contains:
mapfishapp
This is the main application folder, its name depends on the application name given as the argument to the paster create command. The main sub-folders of this folder are: controllers, model, lib, config, tests, templates, and public.
- controllers
- The controllers folder contains the application controllers. The controllers are the components that handle HTTP requests and send HTTP responses. They often interact with the model and templates code.
- model
- The model folder is where the database model is configured. This is basically where tables and relations are defined.
- lib
- The lib folder includes Python code shared by different controllers, and third-party code.
- config
- The config folder includes Python code generated by the framework and exposed to the application for customization.
- tests
- The tests folder is where you can add Python automated tests for the application.
- templates
- The templates folder is where view templates are stored. Note that we won’t write templates as part of this workshop, as the HTML rendering will mostly be done client side.
public
The public folder includes the application’s static files, i.e. HTML, CSS, JavaScript files, etc. Most of this folder was populated when you installed the JavaScript toolbox with paster create -t mapfish_client. The main files and folders inside this folder are: index.html, mfbase, app, and tests.
- index.html
- The index.html file is the user interface’s HTML page. This is where the JavaScript code is loaded.
- lib
- The lib folder contains the MapFish JavaScript toolbox librairies, namely Ext, OpenLayers, GeoExt and MapFish Client.
- app
- The app folder contains application-specific files. It js/App sub-folder includes the JavaScript code of the default user interface.
- tests
- The tests folder is where the application developer can put its JavaScript tests. The folder includes the JavaScript testing framework, Test.AnotherWay [1], and a test example.
Let’s now review the various files that make up the default user interface (i.e. the web page with the OSM layers).
Edit the index.html file and look up these lines:
<script type="text/javascript" src="lib/ext/Ext/adapter/ext/ext-base.js"></script>
<script type="text/javascript" src="lib/ext/Ext/ext-all-debug.js"></script>
<script type="text/javascript" src="lib/openlayers/lib/OpenLayers.js"></script>
<script type="text/javascript" src="lib/geoext/lib/GeoExt.js"></script>
These <script> tags make the ExtJS, OpenLayers and GeoExtJavaScript libraries be loaded when the web page is openned in the browser. These are the versions of the libraries where the JavaScript code is not minified. Again, we’ll talk about JavaScript minification in the Building JavaScript module.
The lines:
<script type="text/javascript" src="app/lib/App/layout.js"></script>
<script type="text/javascript" src="app/lib/App/main.js"></script>
in the index.html take care of loading the application-specific JavaScript code. As you have noticed the JavaScript code of the default user interface is composed of two files. The application developer is free to add more files if needed.
The main.js file represents the entry point.
/*
 * @include App/layout.js
 */

Ext.namespace("App");

(function() {

    // global settings
    OpenLayers.ImgPath = "lib/openlayers/img";
    Ext.QuickTips.init();

    // run App.layout.init() when the page
    // is ready
    Ext.onReady(function() {
        App.layout.init()
    });
})();
This file just creates the application namespace, and registers a callback to be run when the entire HTML page and its components are loaded. The callback is registered using the Ext.onReady function; we infer from the namespace of the function that the function is provided by the Ext library. Using Ext.onReady is typical in Ext-based applications.
The layout.js file is where the page layout is defined. This file contains private functions, i.e. functions that cannot be called from outside the App.layout module, and the init public function, which is the function that was passed to the Ext.onReady function.
Let’s review what the layout module’s functions do.
init
This function starts by calling the createMap, createLayers, and createLayerStore functions to actually create the map, layers, and layer store.
It then creates an Ext.Viewport, which is a graphical component representing the entire browser viewport. The viewport contains other grahical components: its items. The viewport here contains two items, a map panel and a layer tree panel. See the Ext.Viewport doc [4].
The map panel, which is a GeoExt object, is configured with the map and the layer store objects. The map panel is also a container, with one item: the zoom slider. The map panel has a top toolbar, whose items are returned by the createTbarItems function. See the GeoExt.MapPanel doc [5].
The layer tree is a regular Ext.tree.TreePanel with a GeoExt.tree.LayerContainer as its root node. See the Ext.tree.TreePanel doc [6], and the GeoExt.tree.LayerContainer doc [7].
| [1] | http://www.openjsan.org/doc/a/ar/artemkhodush/ |
| [2] | http://dev.openlayers.org/apidocs/files/OpenLayers/Map-js.html |
| [3] | http://www.geoext.org/lib/GeoExt/data/LayerStore.html |
| [4] | http://www.extjs.com/deploy/ext-2.2.1/docs/?class=Ext.Viewport |
| [5] | http://www.geoext.org/lib/GeoExt/widgets/MapPanel.html |
| [6] | http://www.extjs.com/deploy/ext-2.2.1/docs/?class=Ext.tree.TreePanel |
| [7] | http://www.geoext.org/lib/GeoExt/widgets/tree/LayerContainer.html |