In this module you are going to learn how to use the framework to create MapFish web services in your application.
MapFish web services are web services for creating, reading, updating and deleting geographic objects (features) through the MapFish Protocol.
The MapFish Protocol is a collection of HTTP APIs. It is highly recommended to take some time to go through the description of these APIs [1] before moving on with the rest of this module.
A MapFish web service relies on a spatial data source.
Before creating the web service we need to create a PostGIS table with some data into it. You’re going to create a PostGIS table from a Shapefile of countries.
First, create a PostGIS-enabled database and name it mapfish_tutorial. For that enter the following commands in your shell:
$ sudo su - postgres
$ createdb mapfish_tutorial
$ createlang plpgsql mapfish_tutorial
$ psql -d mapfish_tutorial -f /usr/share/postgresql/8.4/contrib/postgis-1.5/postgis.sql
$ psql -d mapfish_tutorial -f /usr/share/postgresql/8.4/contrib/postgis-1.5/spatial_ref_sys.sql
Note
The above commands assume PostgreSQL 8.4 and PostGIS 1.5, they must therefore be adapted based on the versions of PostgreSQL and PostGIS installed on your system. For example, with PostgreSQL 8.3 the last two command lines would be as follows on a Debian system:
$ psql -d mapfish_tutorial -f /usr/share/postgresql-8.3-postgis/lwpostgis.sql
$ psql -d mapfish_tutorial -f /usr/share/postgresql-8.3-postgis/spatial_ref_sys.sql
Then, download a zipped shapefile available on mapfish.org, and unzip it:
$ wget http://www.mapfish.org/svn/mapfish/sandbox/camptocamp/mapfish_workshop/data/countries.zip
$ unzip countries.zip
As our application will work in Google Spherical Mercator, let’s reproject (and simplify a bit those geometry), thanks to two very useful tools, ogr2ogr and shp2pgsql:
$ ogr2ogr -t_srs EPSG:900913 -segmentize 2000 countries-900913.shp countries.shp
Then, as postgres user, import it into a the mapfish_tutorial database:
$ shp2pgsql -s 900913 -I countries-900913.shp countries | psql -d mapfish_tutorial
First, create a database user, named mapfish and with password mapfish for example:
$ createuser --no-superuser --no-createdb --no-createrole mapfish
$ psql -c "ALTER USER mapfish WITH PASSWORD 'mapfish';"
$ psql -d mapfish_tutorial -c "GRANT ALL ON TABLE countries TO mapfish;"
$ psql -d mapfish_tutorial -c "GRANT ALL ON TABLE geometry_columns TO mapfish;"
You can start psql and connect to the mapfish_tutorial database to check that the countries table is present and non-empty.
You now need to setup the connection to the mapfish_tutorial database from MapFishApp. This is done in the development.ini file.
Edit development.ini and replace the line
sqlalchemy.url = sqlite:///%(here)s/development.db
by this one:
sqlalchemy.url = postgresql://mapfish:mapfish@localhost:5432/mapfish_tutorial
The connection string specifies that the postgresql driver must be used, the database system listens on localhost and on port 5432, and the name of the database is mapfish_tutorial.
Now that the table is created and the connection to the database is set up, you’re ready to create the web service.
Creating a web service is done in three steps:
create a layer configuration in the layers.ini file, in our case:
[countries]
singular=country
plural=countries
table=countries
epsg=900913
geomcolumn=the_geom
geomtype=MultiPolygon
singular provides a singular name for the layer. plural provides a plural name for the layer. Both are used by the code generator when substituting variables. table provides the name of the database. epsg provides the coordinate system of the table data. geomcolumn provides the name of the geometry column.
generate the web service code with the mf-layer command:
$ paster mf-layer countries
configure a route to the countries controller, this is done by adding the following lines after the “CUSTOM ROUTES HERE” comment in the mapfishapp/config/routing.py file:
map.connect("/countries/count", controller="countries", action="count")
map.resource("country", "countries")
you can add a route for counting rows on the table mapped in your controller Be careful of adding this line BEFORE the previous map.resource…:
map.connect('/countries/count', controller='countries', action='count')
map.resource("country", "countries")
Watch the indentation! Four spaces are needed here.
If you killed paster serve or if you did not add the --reload switch, restart MapFishApp with:
$ paster serve --reload development.ini
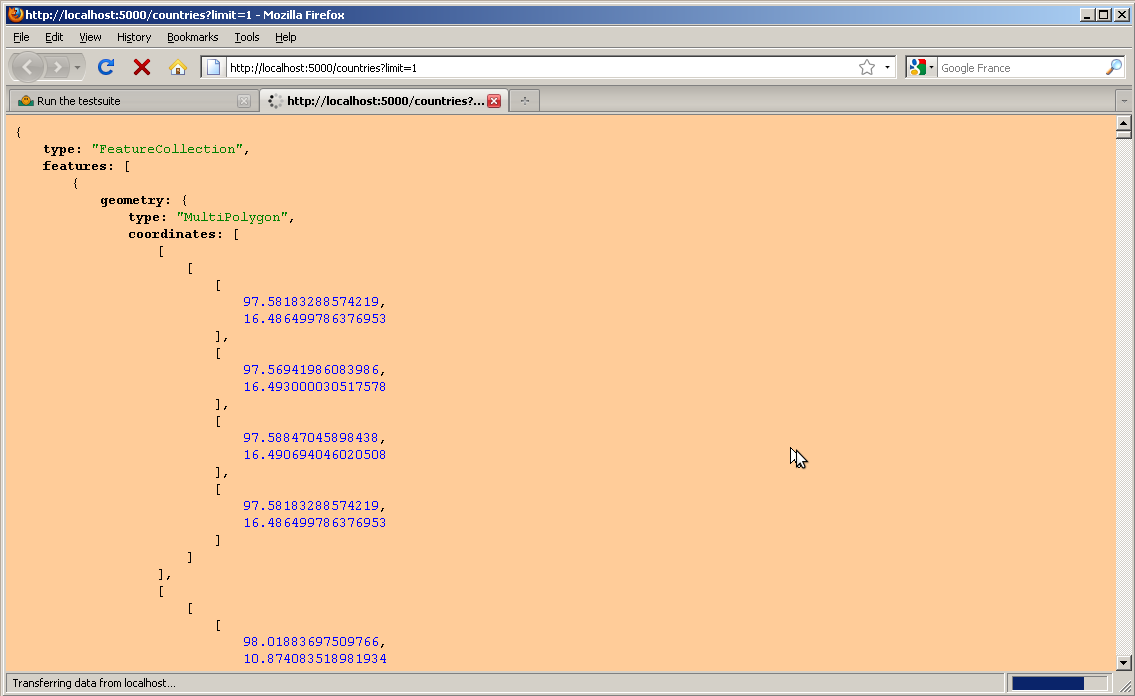
You can now open http://localhost:5000/countries?limit=1 in your browser, you should see a GeoJSON representation of the first object in the countries table:
Bonus task
Open the MapFish Protocol description again and write the URLs for the following queries:
The paster mf-layer countries command created three Python files:
This file includes the controller code of the countries web service. This is the core of the web service.:
class CountriesController(BaseController):
    readonly = False # if set to True, only GET is supported

    def __init__(self):
        self.protocol = Protocol(Session, Country, self.readonly)

    @geojsonify
    def index(self, format='json'):
        """GET /: return all features."""
        if format != 'json':
            abort(404)
        return self.protocol.read(request)

    @geojsonify
    def show(self, id, format='json'):
        """GET /id: Show a specific feature."""
        if format != 'json':
            abort(404)
        return self.protocol.read(request, response, id=id)

    @geojsonify
    def create(self):
        """POST /: Create a new feature."""
        return self.protocol.create(request, response)

    @geojsonify
    def update(self, id):
        """PUT /id: Update an existing feature."""
        return self.protocol.update(request, response, id)

    def delete(self, id):
        """DELETE /id: Delete an existing feature."""
        return self.protocol.delete(request, response, id)

    def count(self):
        """GET /count: Count all features."""
        return self.protocol.count(request)
The controller has methods for each protocol operation: get features (index), get a feature (show), create features (create), update a feature (update), and delete a feature (delete). These methods all rely on Protocol object, this protocol object includes all the logic of the MapFish Protocol as defined in the description.
This file includes the model code of the countries web service. The model defines the countries table object, the Country class representing a table record, and the mapping between the two.
class Country(Base, GeometryTableMixIn):
    __tablename__ = 'countries'
    __table_args__ = {
        "autoload": True,
        "autoload_with": Session.bind
    }
    the_geom = GeometryColumn(MultiPolygon(srid=900913))
The code generated by the paster mf-layer command belongs to the application developer. The developer is free to modify it, based on his needs.
| [1] | http://www.mapfish.org/doc/2.0/protocol.html |