Quickstart
A 20-minute quickstart to get a good sense of what MapFish is and what MapFish provides.
With this quickstart you’ll understand how to create a MapFish application, a basic user interface based on the JavaScript libraries provided by MapFish, and MapFish web services.
Installation
Follow the instructions of the installation page and come back here once done. Make sure the virtual Python environment is activated before you proceed with the next section.
Creating the application
Here you’re going to use the framework to create your first MapFish application.
Generating the base
Use:
(env) $ paster create -t mapfish MapFishApp
MapFishApp is the name of the MapFish application you’re creating, you can pick any name of your choice. We’ll assume that you choose MapFishApp in the rest of this quickstart.
When asked what template engine to use answer mako, which is the default. When asked if SQLAlchemy 0.6 configuration is to be included, answer True, as your MapFish application will include web services relying on database tables.
You should now have a folder named MapFishApp. This folder contains your application files.
Now check that your MapFish application works. For this go into the MapFishApp folder and start the application:
(env) $ cd MapFishApp
(env) $ paster serve development.ini
This command starts your application in the Paster web server, which is a pure-Python web server commonly used during development.
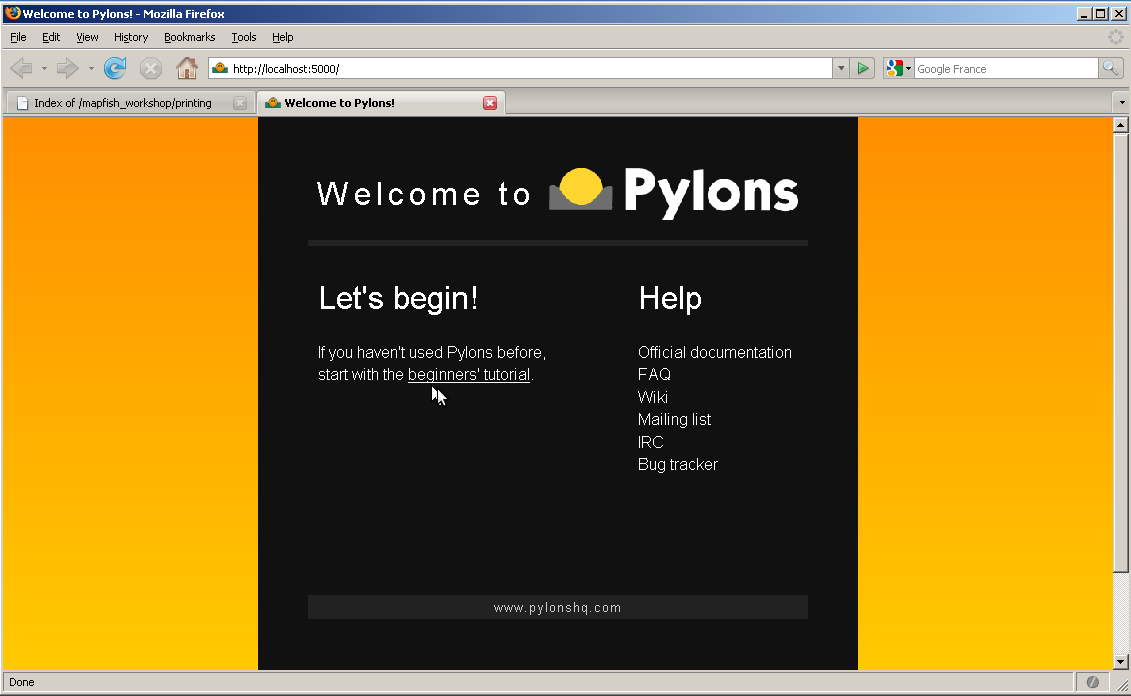
Open http://localhost:5000 in your web browser, you should get the default page:
Installing the JavaScript toolbox
You are now going to install the MapFish JavaScript toolbox in your application. This toolbox includes:
- the ExtJS, OpenLayers, GeoExt JavaScript libraries,
- a sample JavaScript application based on those libraries,
- a build profile for minifying the JavaScript code of this sample application,
- a JavaScript testing framework, with a test example
Installing the JavaScript toolbox is done by applying the mapfish_client template.
Warning
Version 0.2 of mapfish.plugin.client, which is the Python package providing the mapfish_client template, includes versions of OpenLayers and GeoExt that don’t work with FireFox 4 and later when the JavaScript code is not built.
You can list the content of env/lib/python2.5/site-packages to know what version of mapfish.plugin.client is in use.
Enter Ctrl+C to stop the Paster server and proceed with these commands:
(env) $ cd ..
(env) $ paster create -t mapfish_client MapFishApp
When asked whether to overwrite index.html answer y. This will overwrite the index.html page you saw in the last section by the one provided by the mapfish_client template. When asked whether to overwrite favicon.png also answer y.
Start the application again:
(env) $ cd MapFishApp
(env) $ paster serve --reload development.ini
Note
Note the use of the --reload switch. This switch makes the Paste server monitor all Python modules used by the MapFishApp application and reload itself automatically if any of them is modified or if new modules are created. This is especially useful during development.
Open or reload http://localhost:5000 in your web browser, you should now get the default user interface:
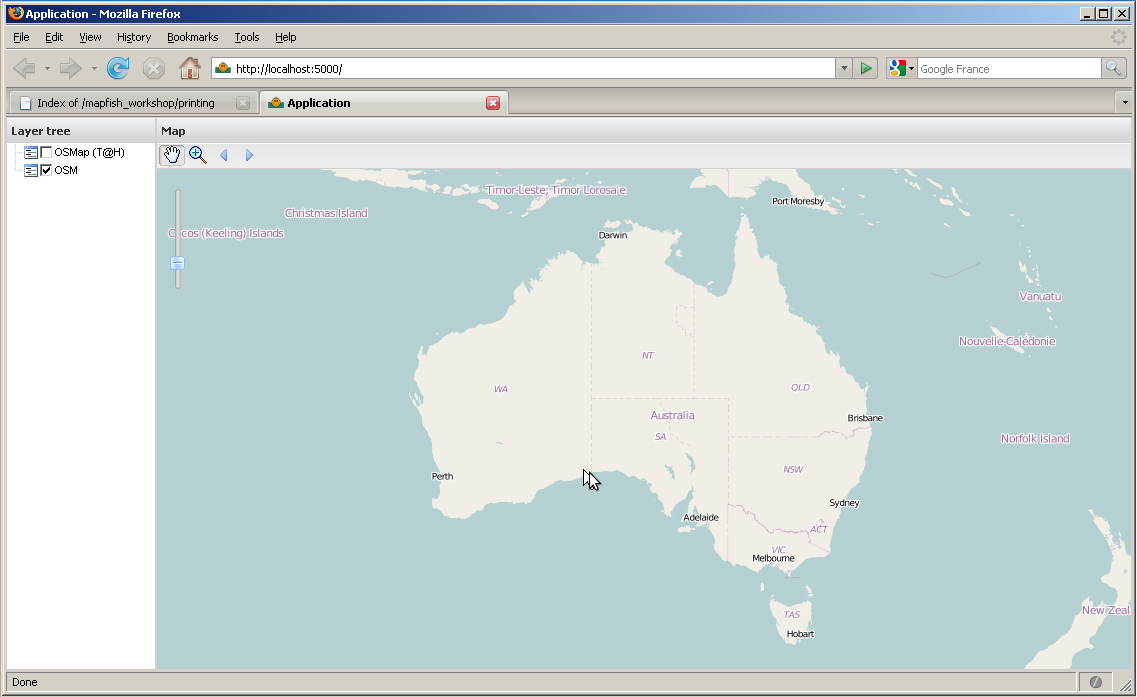
This default user interface is composed of: a map, a toolbar above the map with tools acting on the map, and a layer tree for controlling the visibility of layers. The map itself is composed of two OpenStreetMap layers.
The default user interface is provided to the application developer as an example. The application developer is free to build on it, or delete it to write his own if he wants.
Creating a web service
MapFish provides a command for generating web services implementing the MapFish Protocol. A MapFish web service relies on geographic database table.
Note
In this tutorial PostgreSQL/PostGIS is used as database, but you can also use other database systems, see Using spatial databases with MapFish for further information.
Before creating web services you need to set up the connection to the geographic database. For this quickstart an existing public database will be used, but you can also set up your own database (see Using spatial databases with MapFish). In real-life scenarios, the database system and the MapFish application execute on the same host or on hosts of the same private network.
To set up the database connection edit development.ini and replace the line
sqlalchemy.url = sqlite:///%(here)s/development.db
by this one:
sqlalchemy.url = postgresql://quickstart:quickstart@www.mapfish.org:5432/quickstart
The connection string specifies that the postgresql driver must be used, the database system is located at www.mapfish.org on port 5432, and the name of the database is quickstart.
Now that the database connection is set up, you’re ready to create the web service. Creating a web service is done in three steps:
create a layer configuration in the layers.ini file, in our case we’re going rely on the table named countries in the database, so the configuration is:
[countries]
singular=country
plural=countries
table=countries
epsg=4326
geomcolumn=the_geom
geomtype=MultiPolygon
singular provides a singular name for the layer. plural provides a plural name for the layer. Both are used by the code generator when substituting variables. table provides the name of the database. epsg provides the coordinate system of the table data. geomcolumn provides the name of the geometry column and geomtype the geometry type. Further information about the layer.ini configuration can be found in the framework documentation.
generate the web service code with the mf-layer command:
(env) $ paster mf-layer countries
configure a route to the countries controller, this is done by adding the following lines after the “CUSTOM ROUTES HERE” comment in the mapfishapp/config/routing.py file:
map.connect("/countries/count", controller="countries", action="count")
map.resource("country", "countries")
Watch the indentation! 4 spaces are needed here.
If you stopped paster serve or if you did not add the --reload switch, restart MapFishApp with:
(env) $ paster serve --reload development.ini
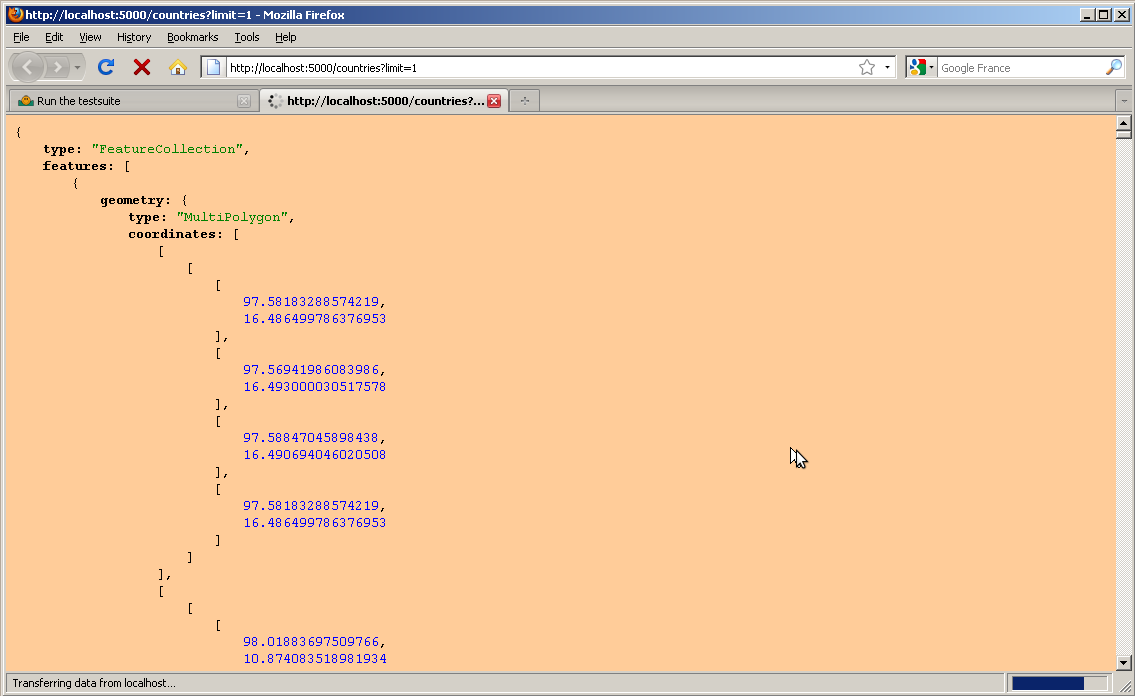
You can now open http://localhost:5000/countries?limit=1 in your browser, you should see a GeoJSON representation of the first object in the countries table:
Creating search functionality
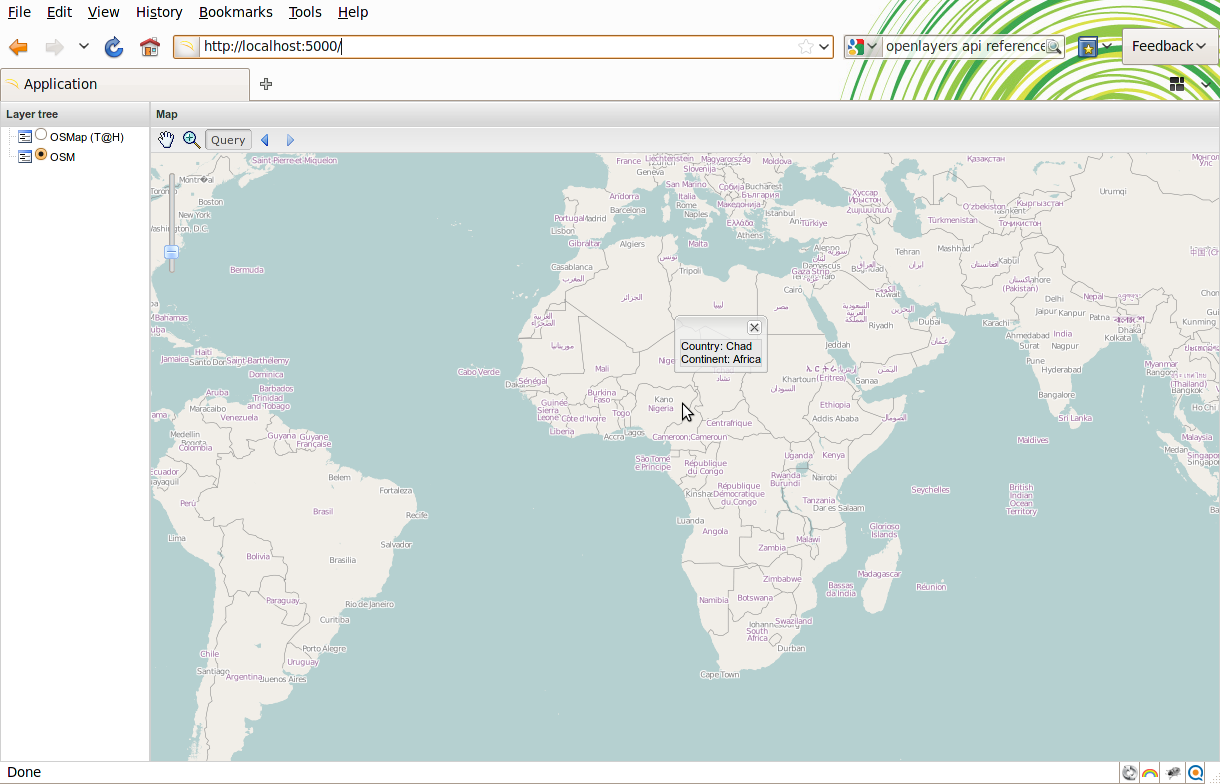
Now that the countries web service works, let’s create a search functionality based on that web service. This search functionality will involve displaying a popup containing information about the country that is clicked by the user.
Edit the mapfishapp/public/app/lib/App/layout.js file, look up the createTbarItems() function, and insert a new GeoExt.Action to the array returned by the function by adding the following code to the function (If unsure, see this file):
actions.push(new GeoExt.Action({
    text: "Query",
    map: map,
    toggleGroup: "tools",
    allowDepress: false,
    control: new OpenLayers.Control.GetFeature({
    protocol: new OpenLayers.Protocol.HTTP({
        url: "countries",
        params: {
            epsg: "900913",
            attrs: "pays,continent"
        },
        format: new OpenLayers.Format.GeoJSON()
    }),
    eventListeners: {
        featureselected: function(e) {
            var f = e.feature;
            var html = "<p>Country: "+f.attributes.pays+"</p>" +
                "<p>Continent: "+f.attributes.continent+"</p>";
            f.geometry.transform(
                map.displayProjection, map.projection);
            if (!this._popup) {
                this._popup = new GeoExt.Popup({
                    html: html,
                    map: map,
                    closeAction: 'hide',
                    unpinnable: false
                });
            }
            else {
                this._popup.body.update(html);
                this._popup.doLayout();
            }
            this._popup.feature = f;
            this._popup.show();
        }
    }
    })
}));
In the above code a GeoExt.Action configured with an OpenLayers.Control.GetFeature is added to the array of actions. The OpenLayers.Control.GetFeature object is connected to the countries web service through an OpenLayers.Protocol.HTTP object. In this example a GeoExt.Popup containing the name of the clicked country, and the name of the continent, is displayed.